Showing posts with label DIY. Show all posts

Why I've Slacked Off, But Didn't Really.

So, what have I been up to that I was too busy to call, blog, or even hang out with friends?
A LOT. 
Let me tell you, right here, is one hard-working girl. 
Two weeks is what it took to do this massive project. 
Curious yet? 
We laid a Patio. It still isn't done. We still need to add the fire pit. 
First, we had to cut up the grass and roll it. We used it to cover up some areas where grass wasn't growing. Can't even tell it isn't supposed to be there!
 That's my honey taking a rest on the steps & his daddy (my future father-in-law!) leveling the cracker-dust, (6 tons of it!) so that we could start using the tamper.
 Does anyone know just how hard it is to level out the ground?! And it has to be just right so that the pavers lay flat and so there aren't any random bumps or curves in the patio.
 Yes, that is me, using a tamper. We used to to pack in the cracker dust.
 He was a good supervisor even though I didn't need it. I'm just that good. 
That, and if I wasn't good, I wouldn't get paid in my numerous root beer floats!
 Over the course of two weeks, we worked day and night, non-stop so that we could get all the pavers laid.
 The circle was by far the hardest part of all. We struggled to find out how to square it off.
 Obviously, we did a pretty good job. We tamped it down again to pack sand through it and then we were done. Until we put together the rock fire pit!
 On a final note: Look how adorable the fiance is when he's cheesin' it up. Adorbs!

 photo Untitled_zps23be154f.png

Soakin' and Sippin'

Morning lovelies!
A few nights ago, my lovely partner in crime and I had a lovely idea:
Instead of me buying my tumblers, why don't we try making them?
Uhm, hello. I had no idea how easy it is.
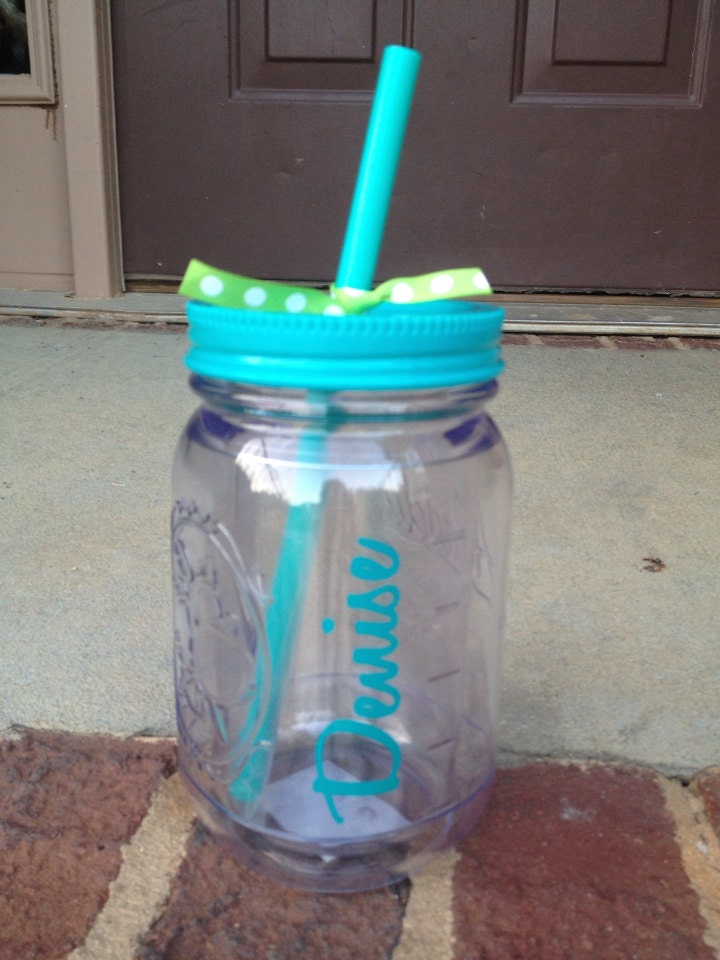
 I got some mason jars and headed to Wal-Mart.
There, I got some tumbler straws, they aren't the hard ones, they are jelly, which I like more.
I grabbed some pretty duct tape, after searching for a ton of ribbon and never found anything I liked.
(Thanks for being patient, honey!)
And we headed on home.
Jase took the tumblers out to the garage and drilled holes in the top of the mason jars so we could fit the straws inside of them, while I went to town on the duct tape.
If I couldn't find ribbon I liked, the tape would have to do. I made my bows.
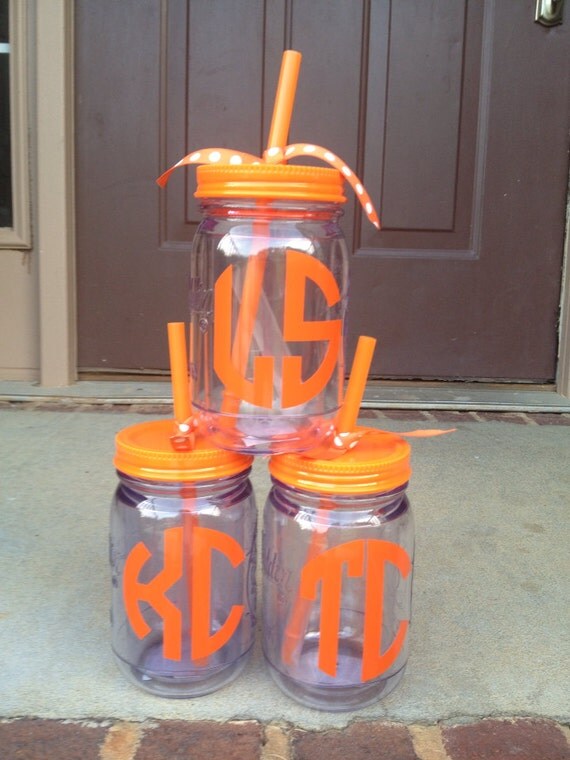
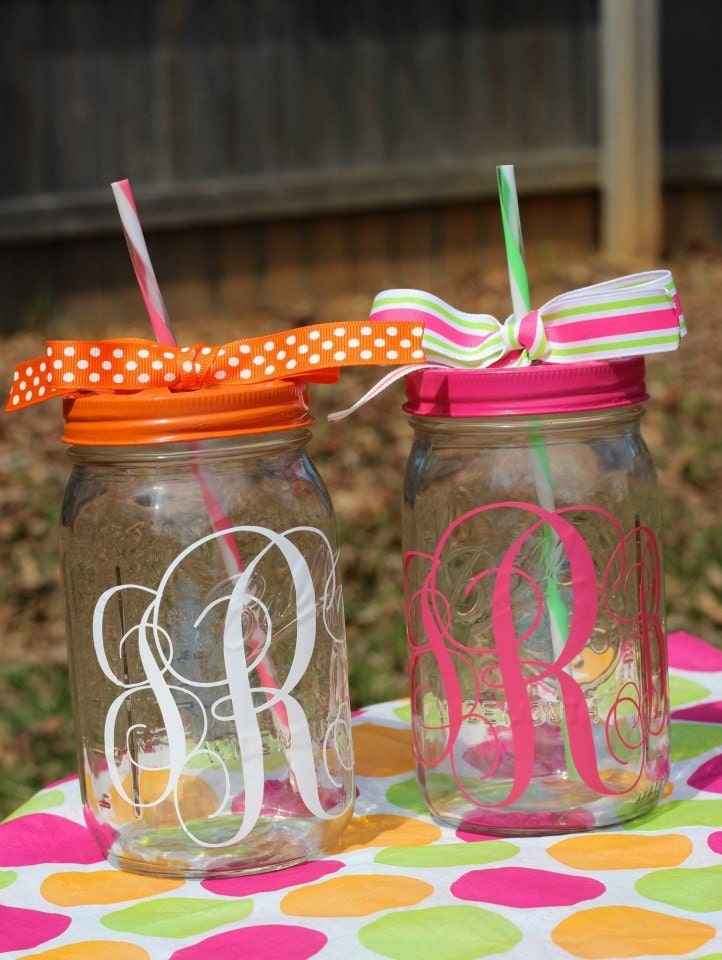
The final result:
 People have already asked me if they could buy them. I am seriously considering this.

I had a few mason jars left, so of course I needed to find another use.
I have been reading on Pinterest about this detox bath and decided to give it a try.
LOVE. IT. TO. PIECES.
I decided I just had to have the ingredients measured and ready to go any time I wanted one.
I swear by it. And while you're here, let me give you a printout of the recipe!

Time for some Soakin' and Sippin'!

 photo Untitled_zps23be154f.png

My Etsy Loves!

First, I would like to say, that I have another obsession. 
Etsy is completely addicting. 
I have made a lovely little wishlist and would love to share it with you!


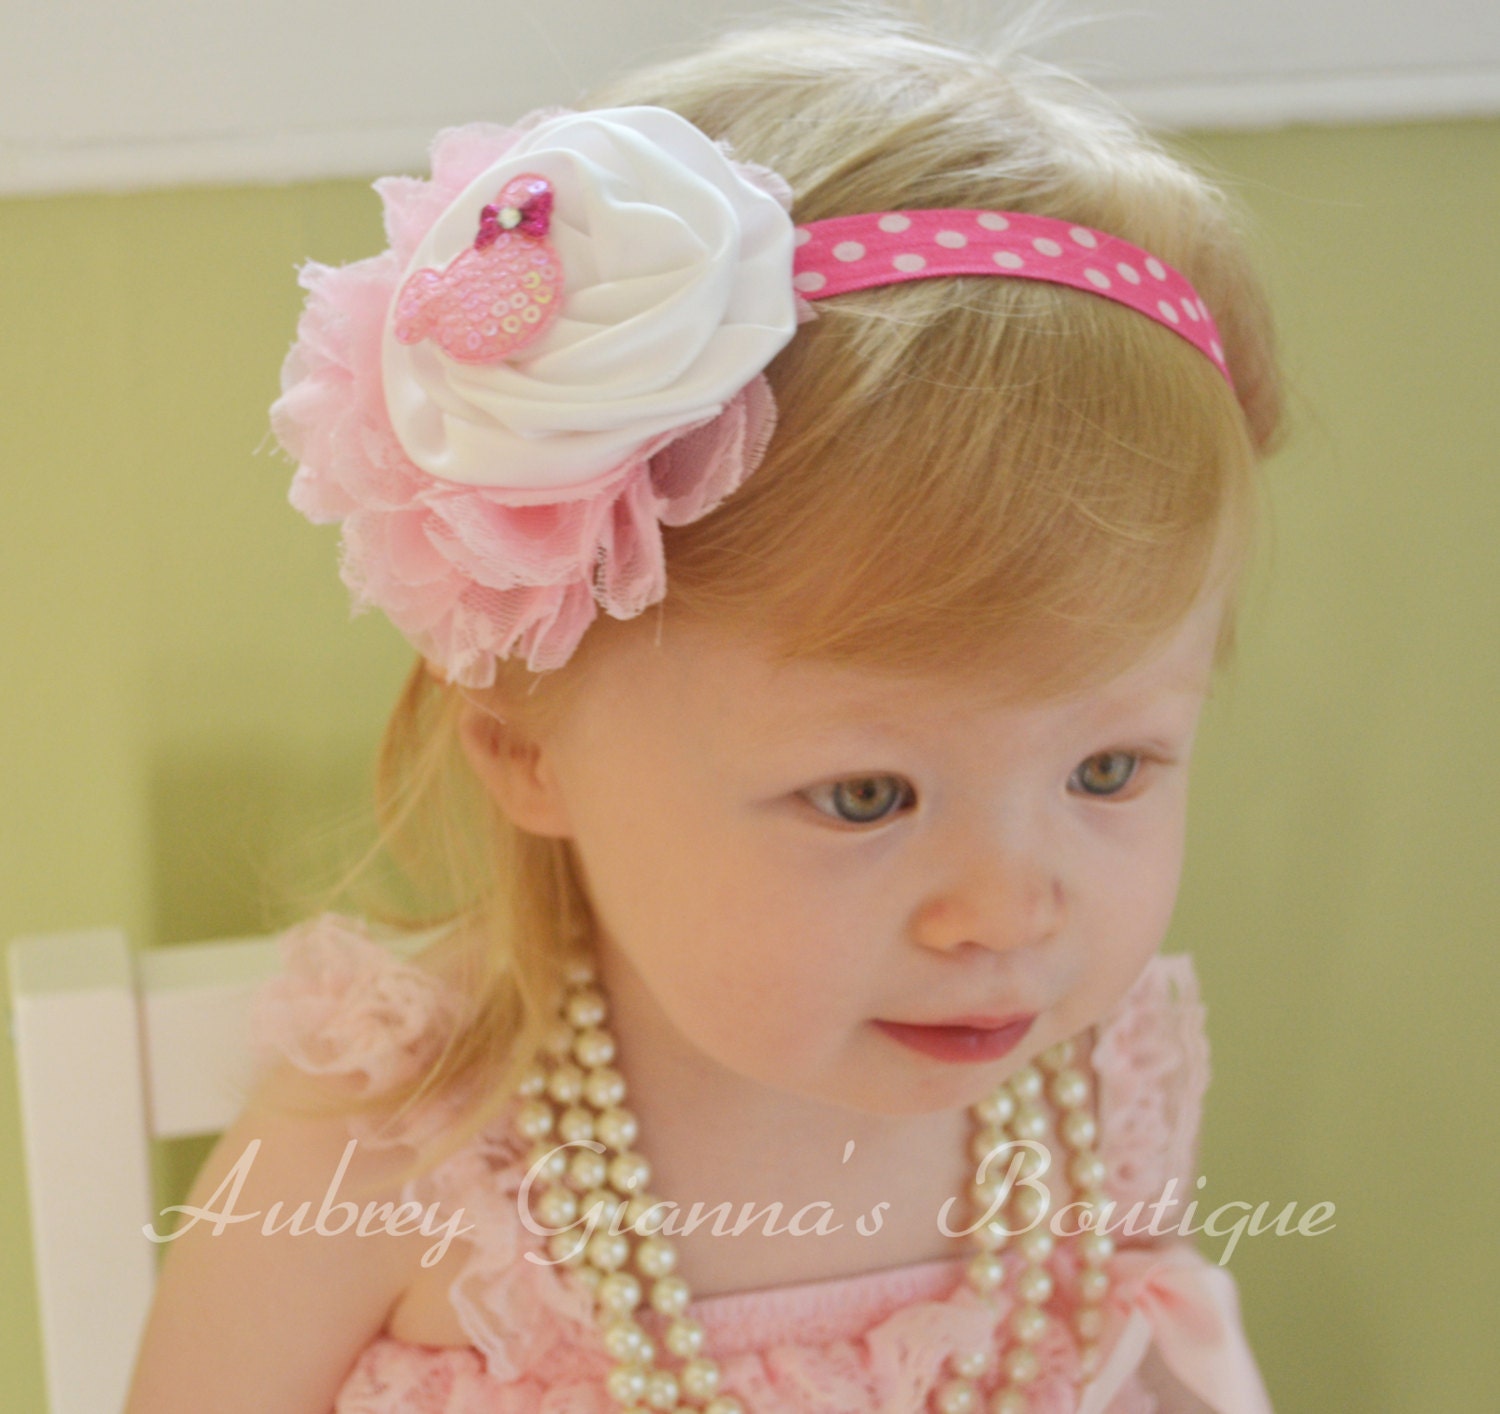
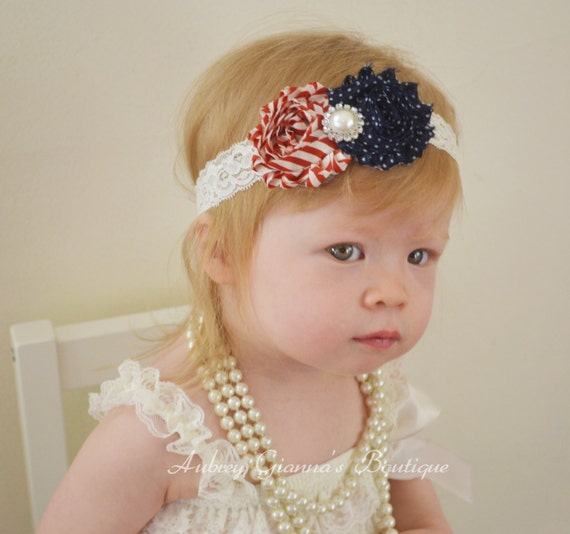
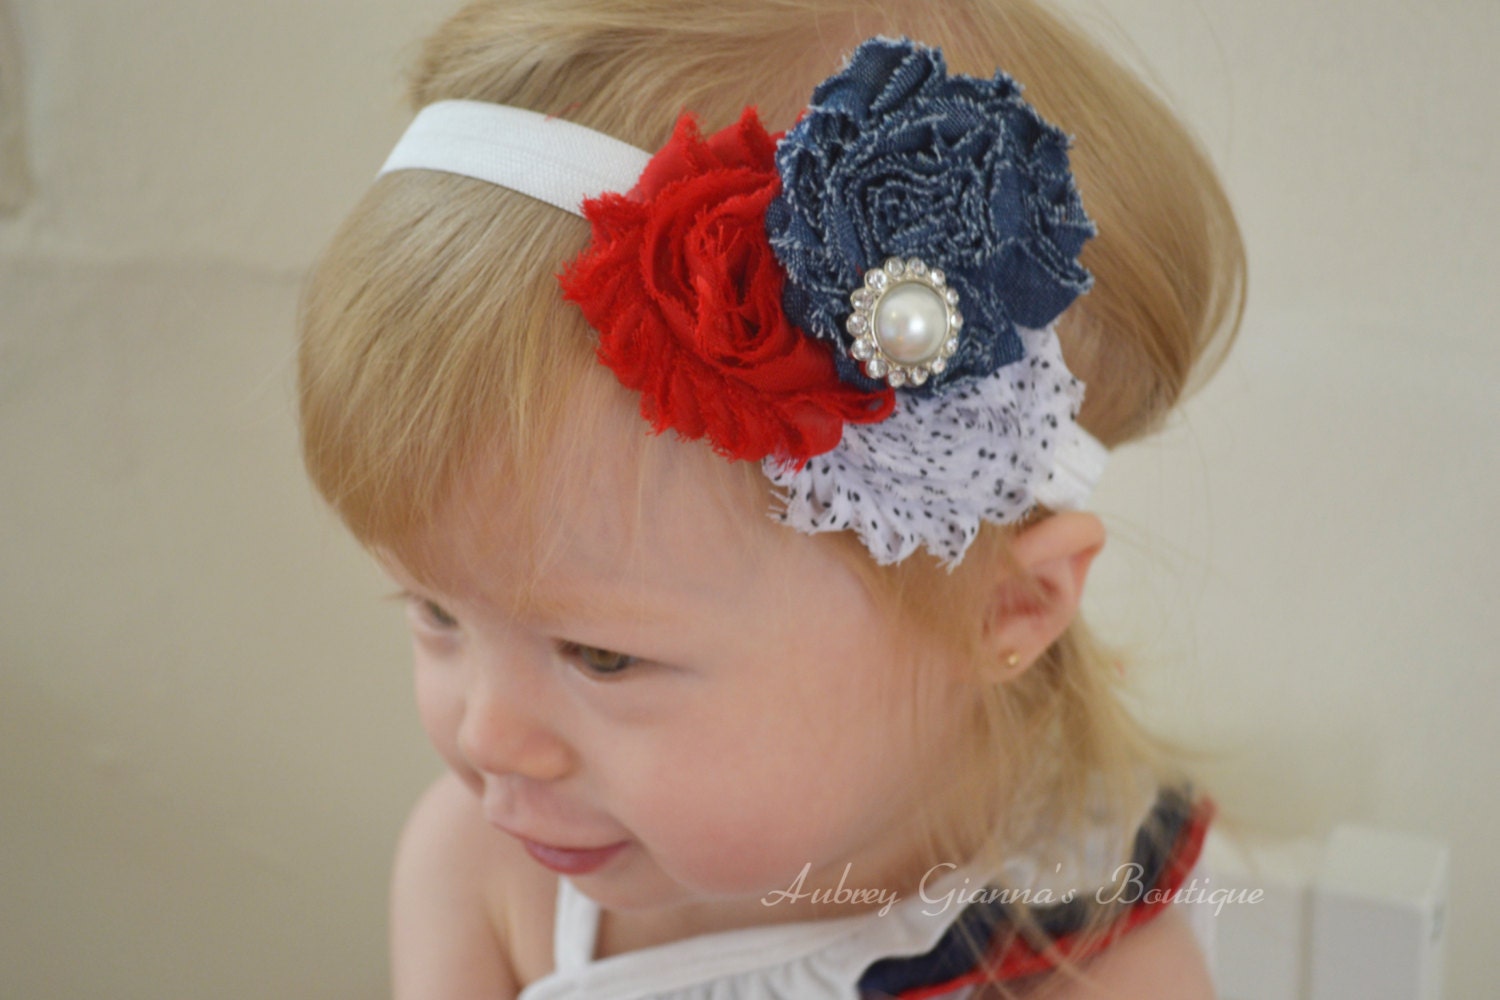
I would also love to shout-out the cutest Etsy shop I have seen so far.
This lovely Etsy owner never fails to contact me and reply to all of my posts. 
Thank you, Aubrey Gianna, for being fantastic.
Here are a few of my favorites from the shop: 
Stay tuned for a lovely item that's going to be made for me! 
2015 can't come soon enough!
 photo Untitled_zps23be154f.png

How to: Easily find the nail polish colors you want!

Not even one day after making my nail polish storage box, I found out there was a problem.
A BIG ONE.
If my box gets all stuffed full of nail polish, I am not going to want to try to root around and look for it.
I needed a way to organize my nail polishes and tell them apart. 
The easiest way I knew, was to paint the tops. 
Not to full out paint the tops but put a little circular dab in the center. 
Just enough to show what the color was!
The Result:
The easiest organizational tool that I could have thought of for nail polish. 
(Aside from separate drawers according to color, but that would defeat the purpose of my box!)
All that I had to do was get a paintbrush, a paper towel, and my polish.
I simply took the cap off, stuck the end of the paintbrush in the polish, and dabbed it right on the cap!
Then, I sorted my polish in rainbow order!
(The most fun task!)
Placed them all in the box and stuck the lid on, easy as pie!
 How do you store all of your polishes and how easy is it to find the colors you want?

 photo Untitled_zps23be154f.png

DIY Nail Storage!

Today, I could not deal with it anymore. I can not just have my nail polish sitting all around everywhere, never being able to find my nail polish when I needed it.
"Where's my white! I can't have polka dots without my white!"
"Where's my peach?!" "Oh wait, that's not in my collection."
It just had to stop. And it had to be a pretty stop. 
Pink. Pretty. 
So here you have it:
I put painters tape in chevron and stripes on my photo box. My beautiful white photo box.
I got a paint called Pink Lemonade (YUM & ADORBS) and painted my perfect box.
I have no patience... I needed a hair dryer to dry it.
 It turned out BEAUTIFULLY.
 I loved how simple and sweet it looks.
I loved even more that EVERYTHING fit inside of it and more.
Eventually I would like to put dividers in for my markers!
What do you use to store your nail polish?

 photo Untitled_zps23be154f.png

Nail Discoveries!

I discovered the most wonderful things today, and by wonderful, I mean life changing. For me, anyway.
Today, I realized, that instead of spending a ton on nail art pens, there is a MUCH simpler solution. 
PERMANENT. MARKERS.
Which happens to not be permanent when you use a clear base coat to protect your nails. 
This magical discovery is something that I must share with you.


 Obviously you need some kind of permanent marker. Most people choose Sharpie, but I choose whatever is the cheapest and what gives me the most bang for my buck. Lots of color choices help, though. I got this pack of BIC permanent markers at Walmart for around $12. There are 24 in this pack. I would choose fine tipped markers but you can choose thicker to fit what you would like them for.
 I chose the two markers that I wanted, you can use as many as you want. I like the peach and the grey. Different color chevron stripes were what I was going for. I also grabbed a tub of Vaseline and a paintbrush.  Why?
 Paint around your nails with the Vaseline! You could also use Elmer's glue but I have found that while Elmer's Glue makes painting nails a lot less messy, Vaseline works just as well.
To use Elmer's Glue you have to wait for the glue to dry around your nails, then paint them.
For Vaseline, all you have to do is put it around your nails and go. No peeling off or waiting, the polish just washes right off along with it (not to mention it moisturizes instead of dries!)
I decided that I wanted a white background under the marker. 
HOWEVER. 
Make sure you use clear coat if you are NOT using a color under the marker. 
It WILL stain your nails!
After the clear coat or color, you can draw your design in the markers on your nails.
You can either let the marker dry so it doesn't smear and put another clear coat on 
OR
Apply clear coat right away to give a smeared look.
Obviously I wanted the smeared look. 
(It was my first time doing this so please pardon how messy it looks)
Also, here's another little hint: PAM spray dries your nails instantly.
Just spray right over your fingers and nails. 
(This is why my fingers are slightly shiny.)

I am so pleased with how this has turned out. There are endless color possibilities and endless design ideas.
The best part is, if you feel like you messed it up, just wipe it right off before it dries! 
COMPLETE MAGIC.

 photo Untitled_zps23be154f.png